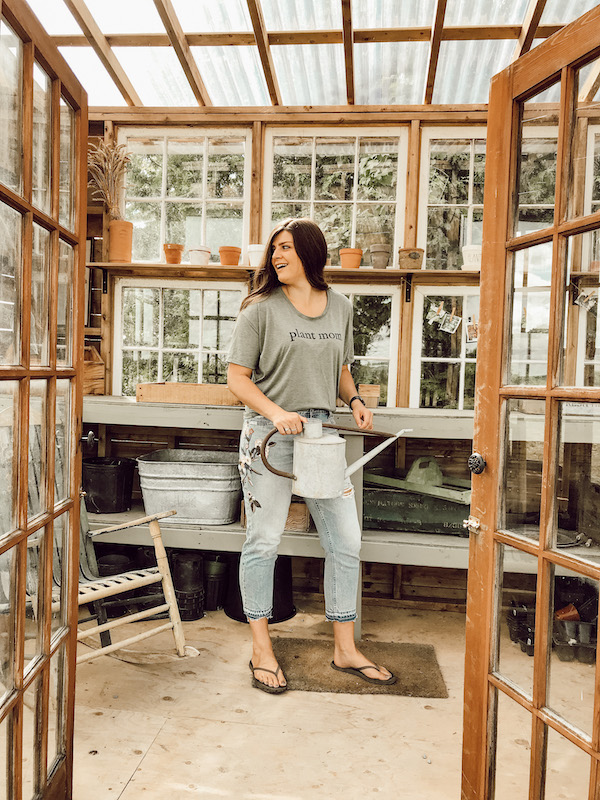
It’s the weekend my friend! And that means its time for another DIY project. This one is coming to me a bit late Ill admit. Usually you aim to start seeds in April/May for vegetables so you can enjoy their bounty all summer long. But I’m not too worried about that, I’m excited to start now! Better late then never right?
I decided I wanted to start fresh with a vegetable garden bed. It’s hard to tackle weeds and create your own bed without renting a machine to tear up the weeds. So I decided to make a raised garden bed, and boy was it ever easy! I picked up my supplies on Friday, and was done this project my Saturday at noon! So easy. You will enjoy this one I promise!
Supplies needed from Home Depot & your garden shed!:
-Three 1x6x6ft Micro Pro Treated Fence Board
-8 1.5” wood screws
-8 bags of All Purpose Garden Soil (25L)
-Vegetable seeds of your choice (choose 3!)*I try to find Canadian ones! Home Depot carried the ones pictured below.
-Lawn Rake
-Screw Driver or Drill-Table Saw
-Some clothes that are willing to get a little dirty!

STEP 1:
-Prepare your area where you are going to lay your bed. I wanted to make sure there were no tall weeds that could poke up through the soil once my bed was finished. Make sure the ground is nice and even.
-Map out your garden bed using the loose pieces. Once you have your area assignment, cut the 1 1x6x6ft piece in half (3ft) for the ends of your bed.

STEP 2:
-Screw your bed together using 2 screws on each end corner. Make sure you are screwing each piece on so the sides are flush and your bed will be even.

STEP 3:
-Fill your new bed with soil. I chose to fill my beds up pretty high so even next season hopefully I wont have too much to add. As you get rain falls as well, this will pack the soil down and drain it out. Try to butt up the soil to the edges of the bed and pack firmly (but not too much so you dont put stress on the boards) so it encourages proper drainage. I actually stomped all across my bed and then gave a light rack on top.


STEP 4:
-Map out your seeds! I decided to use Green Beans, Beefsteak Tomatoes, Lettuce – both Grand Rapids and Red&Green Salad Mix. For the beans, we all know they like to crawl sort of vine like. So – I did this other mini DIY from old grass that I actually had just trimmed down the week before. It almost has a bamboo feel to it. I just kriss-krossed the stalks and tied them together with cotton yarn and made a space for the beans to crawl. You could easily pick up some bamboo from Dollarama! I may have to do this for the tomatoes – ill keep you posted!


STEP 5:
-Its planting time! Follow the directions on your seeds packs and plant your seeds accordingly. Have some markers already made up so you can plant them right into the ground so you remember where you planted what! Before I planted, I decided to map out a straight planting line using some popsicle sticks and cotton yarn. This way I know the line of my seeds (directly to the south of the yarn) so I know when they pop and can weed around them if need be! And did I mention you need a planting stool… definitely need a planting stool! Save your back! This one my mom actually scooped up for me at one of our favourite antique shops. The watering can is from Canadian Tire! My favourite.

STEP 6:
-Water, and watch! Okay maybe not watch.. because you’ll be there all week! But get excited to watch your bounty come through. I know I am! There’s something about making and growing your own food that intrigues me.. I feel like this is a start to a very long hobby my friend! I hope youre eager to start the journey with me! Maybe fruit is my next piece to add! I definitely know next year I need to add more sunflowers.. look at them come up already next to me!

Enjoy your garden my friend,
Talk soon, Sam xx


